Pin It

Sunday 27 October 2013

Fun with Ghosts


We have been having a lot of fun with ghosts!  I put together a little booklet about a ghost who finds that when he eats something he magically turns the color of what he has eaten!  


Then I had the students brainstorm different foods for different colors!  

After we had a starter list for each color I had the children create their own version of the story with their choices of food for each color!  We even had a list for what would turn the little ghost invisible!  

I had the students draw the food with a felt pen first.  Then they colored in the ghost using their crayons!  The picture using the felts really popped in the background of crayon!  


I ran off all the pages and had them stapled together with just one staple which I removed when they were ready to cut the pages apart and put them in the final book order.  I gave the students the booklet and then, I had the students draw the pictures first,  Then they added the correct vocabulary from the lists we had created.  Then I had them cut the pages apart and we collated them in their favorite order.  There is a title page for the front and and special ending page.  Of course, the ending was having the ghost eat something white to turn back to his original color!  

They loved this project!  We put the completed books in a little center and the children have been having a great time reading each other's books!  


I have put together a package of this activity on my Teachers Pay Teachers store! It is called Fun with Ghosts! 


We also made a counting book about ghosts!  


I used the pocket chart strips to introduce the One Little Ghost Said booklet. 
(We have one of those photocopiers that lets us enlarge to an 11 X 17 sheet from an 8 X 11 sheet.  I use that to make my pocket strips a bit bigger.  Works great!)


Then I encouraged the students to predict what type of poem this one might be based on the first couple of phrases.  Once they realize it is a count up we are off! 
Then I let them know that they will be creating a booklet version of the poem. 
We talked about using the strategy of counting the ghosts to figure out which sentence strip would go with which picture. 

The students were encouraged to cut out the sentence strips and glue them down before cutting out the individual pages and putting them in order.  We talk about the title page and the surprise Boo page at the end. 

The cover is very, very simple but very popular with my students!  I gave them a black construction paper cover and had them draw ghosts on the cover with their white crayons!  For the students who feel they can’t draw a ghost I encouraged them to trace their pointing finger with the crayon, add a waving line at the bottom, and add the eyes and open mouth shape!  

I also have the children highlight some of the words to help them practice their sight word recognition. 


Then they read their booklets with a friend.  Finally, they took them home to share them with their families! 


I have created two versions of the One Little Ghost said booklet!  One version is a simple booklet of the poem.  The other version lets the students match the correct words to the correct page.  This is a fun counting and reading activity.  You can use the version that best suits your students and age group!  

This activity is also part of the Fun with Ghosts package. Everything you need is in the package!

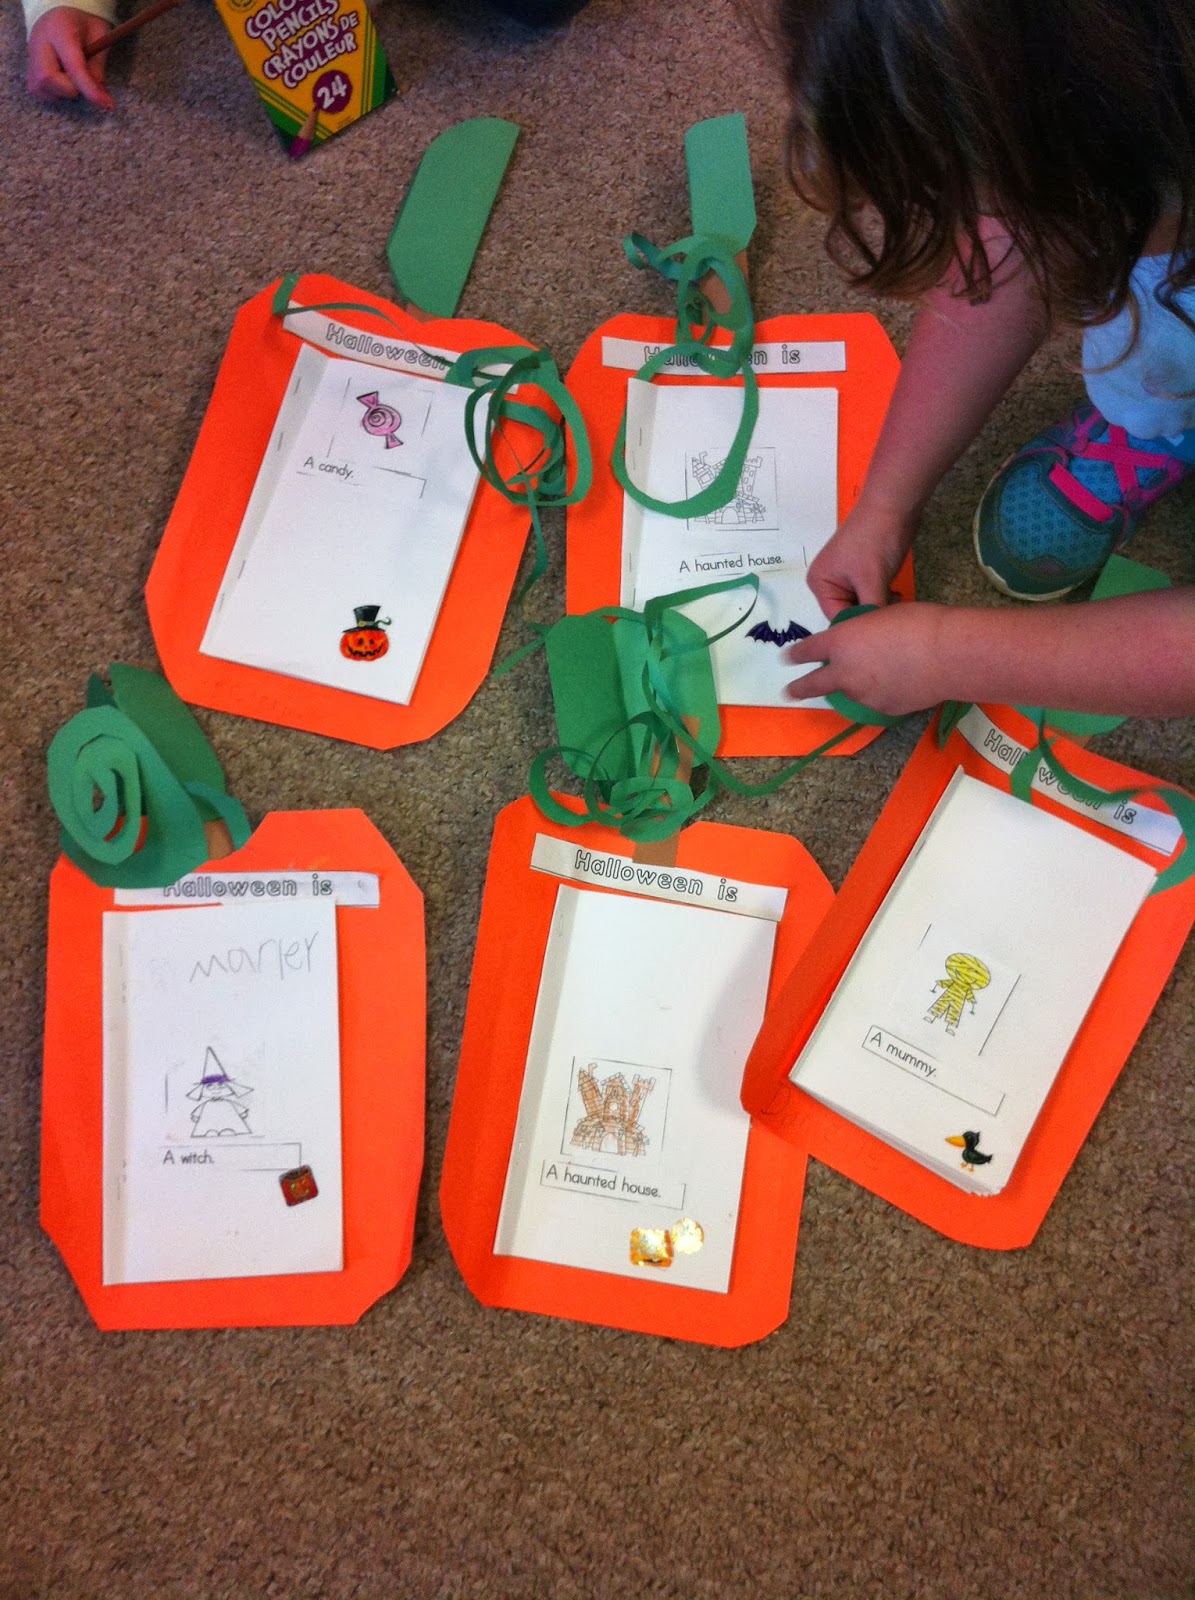
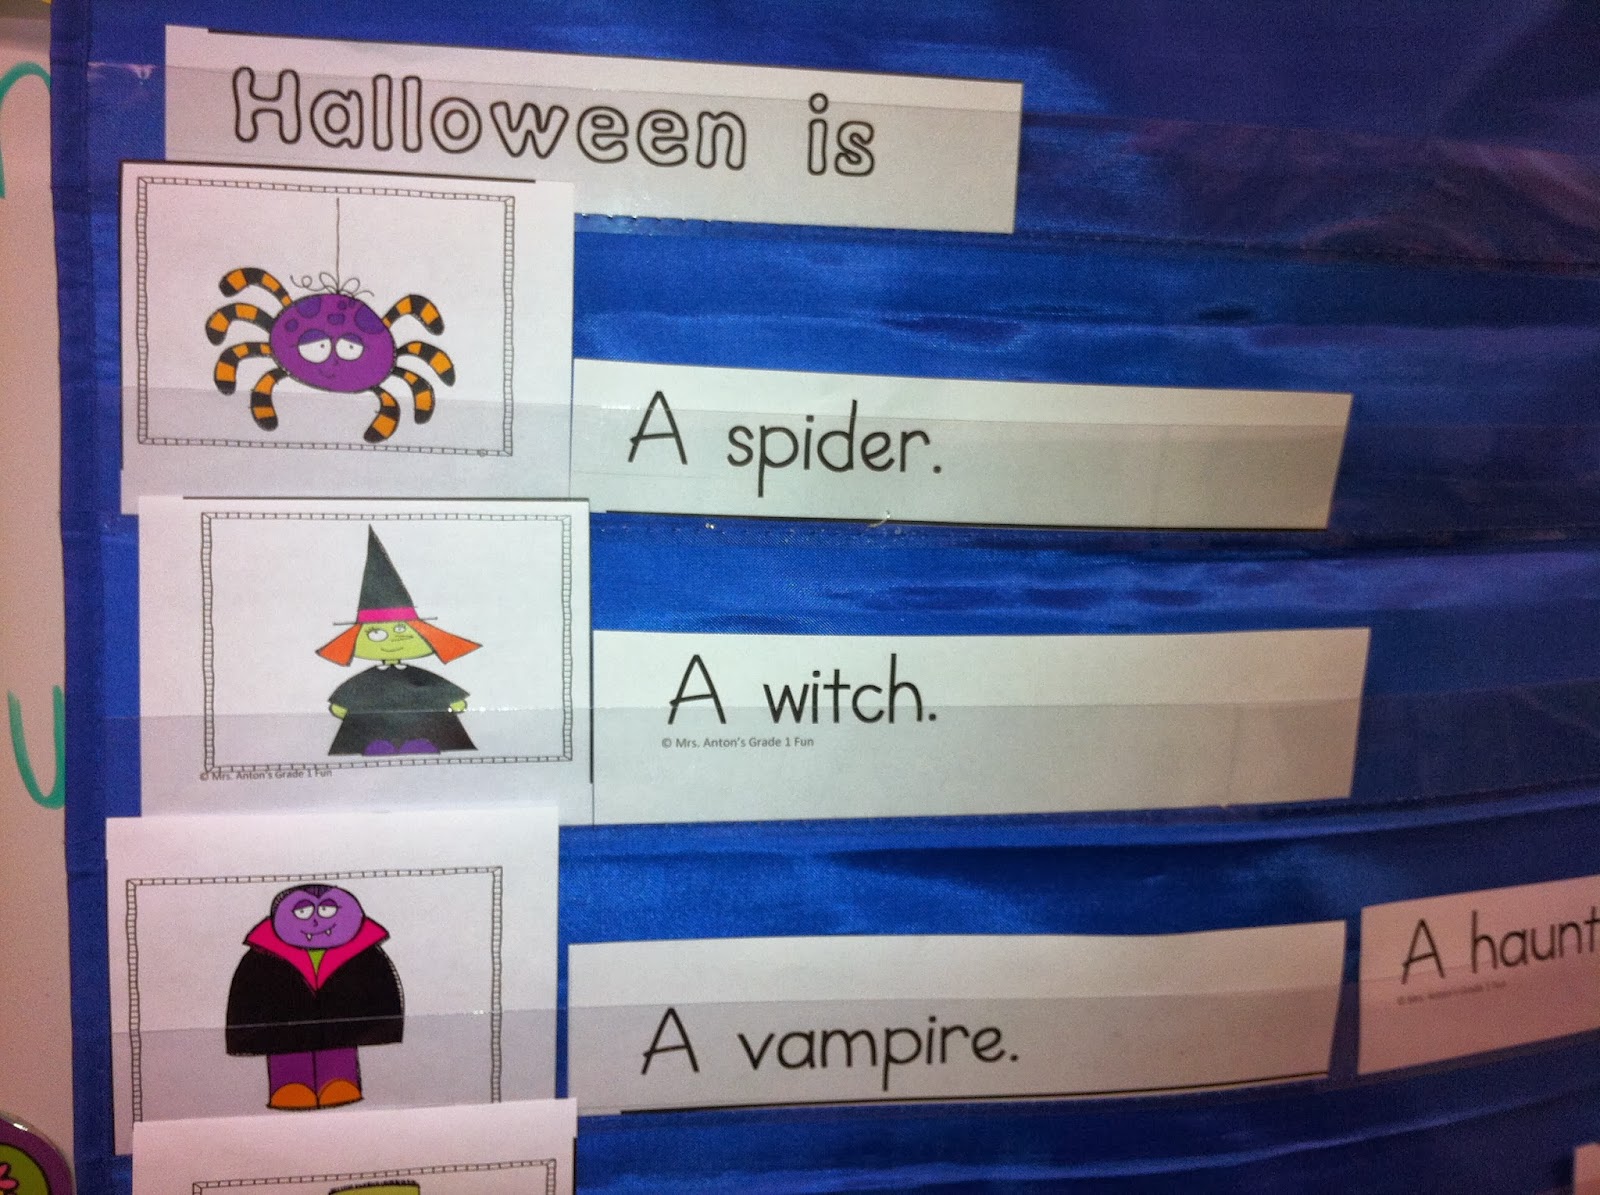
  Don't forget to take a look at my Halloween Fun package too!  It is Free! 


Hope you are having as much fun with Halloween as I am! 


Saturday 26 October 2013

Pumpkin Book Fun!


I really enjoy Halloween!  There are so many ways to introduce vocabulary and have the children practice their beginning sight vocabulary in a fun way!  Here is a little pumpkin patch of a Halloween vocabulary booklet we made recently!  


I have the students help match the correct words to the pictures in the pocket chart using the reading strategies we have been working on thus far. 


First I gave them a premade blank booklet to glue the pictures and corresponding words on.  I use 4 sheets folded in half and then stapled.  
I gave them one sheet of orange construction paper and had them round the corners off.  I staple the blank booklet to the orange paper leaving room to add the Halloween is strip to the top.  You can prepare the orange papers ahead of time if you wish to save some time! They glue the pictures in first and then add the corresponding word strips. We glue the phrase “And they all said, “Boo” on the orange pumpkin behind the booklet.  So when they turn the last page they see the phrase on the pumpkin. 

Thne I gave them two precut square green pieces of construction paper to make the leave and vine with!  We round the corners of both the pieces first.  Then one is cut into a spiral for the vine and the other is cut into a leaf shape for the leaf.  They love cutting the spiral.  I just tell them to keep cutting just inside their last cut until they can’t cut any further! One more piece of brown construction paper for the stem.  They glue on the stem and leaf and vine.  Sometimes I secure it a bit more firmly with a staple.


I have put this project together as a new package called Halloween is Fun at my Teachers Pay Teachers store.  


The children really enjoyed this project and the added bonus is that the pocket chart strips become an instant word bank!

Here are a few sample pages from the package! Sometimes the children color in the bubble letters for the word Halloween in a simple Halloween color pattern! 


We have also been having fun with my Witches Brew Cafe activity from my Halloween Package! 

The children create recipes using the cloze menu sheet and then "serve" them!  They take turns making their friends recipes too!   Lots of counting and reading practise!  Very popular activity!  


I found all the cauldrons and bugs and so on at various dollar stores and Halloween displays over the years.  
You can find the menu sheet for this activity in my Halloween Fun package at my Teachers Pay Teachers store.  It is FREE! 


There are a wide variety of activities in this package. 

They love doing the counting practice activity. I have collected those little Halloween erasers as counters.  I have also used the foam shapes you can find at the dollar store and craft stores.  They are inexpensive and the children love them! 
Hope you are enjoying Halloween as much as we are! 


Saturday 12 October 2013

Thanksgiving Turkey Fun


We celebrate Thanksgiving in October in Canada.  So this weekend we will be enjoying some yummy pumpkin pie. We made these funky turkeys yesterday!  The children had a great time creating them and seemed very happy to take them home.  Most of them insisted on carrying out their turkeys in their hands instead of putting them in their backpacks.  

It is a fun project because you basically just set out the materials, do a quick little demo and then let them go. They all seem to turn out and each seems to have its own unique personality!  You need one big pine cone for each child, about three or four leaves, a pompom, two googly eyes, a little piece of red pipe-cleaner for the wattle, and Tacky glue.  I found most of this stuff at the local craft store.  I found most of it on special!  


The children choose a pine cone, test out where they want to put the leaves, and then dab the end of the leaves into the Tacky glue and place them in the spaces they chose to put them on the pine cone.  I put out toothpicks to let them put the little dabs of glue on for the eyes and wattle.  


 They dip the pompom in the glue and  place it where they want it to go.  


We also made these cute Turkey fridge magnets with our buddy class last week!


Just a little craft spoon, a silk leaf, two googly eyes, a piece of pipe cleaner for the wattle, and a small piece of magnetic tape.  You can tell that it's a turkey, right? My students loved them! 


We also made little books about fall.  The children did an awesome job matching the picture to the words.  I introduced the sentence strips and pictures on the pocket chart and had the children match the correct sentence strip to the picture using the reading strategies we have introduced thus far.  They love having the chance to match the correct strip to the picture and put it in the pocket.  


Then I gave them a package of  the pictures and the corresponding sentence in a booklet format.  They just had to cut our the pictures and match them to the correct sentence and glue it down.  It works really well if you match the pictures to the sentences first and then cut out the pages.  They did a great job using their strategies to figure out which picture went with which sentence.  


Then they cut on the pages and compiled them to make a little booklet!  I gave them a construction paper cover and gave them some of the peel and stick fall stickers you can find at the craft store to decorate the cover!  This was a HUGE hit!  

Here are a few samples! 


Then they had to color a few of pages to make the sentences true!  Some  of the students opted to color all the pages!  


If you want to try this quick project you can find all the pages you need including the pocket chart strips and pictures in my Thanksgiving Fun package at my Teachers Pay Teachers store.  


The instructions for the pine cone turkey are also included.  There are also some fun activities for math in the package as well! 


This is a sample of the math courting activity.  


Hope you have a great Thanksgiving whenever you have it!