Pin It

Sunday, 31 March 2013

Making Math Books iPad Style!

One of the projects that we worked on this year during our iPad project was creating math books using a combination of several different apps.  The children were fearless during this project and happily worked on it for a long, long time!  We used a combination of Doodle Buddy, some simple photography using the iPad, and Strip Designer to create their books.  When they were finished we could share them in a variety of ways.    I chose to send them as PDF files to the parents, and we also saved them to iBooks and sent them on to the parents. 

I found the beginning of the idea on a neat website called Journey with an iPad by Kate Lechleiter.  She had a post about using Doodle Buddy and ten frames to represent numbers.  She took a picture of the ten frame and used it as a background on Doodle Buddy.  Then the children used the stamps to represent numbers.


I thought that I would like to see the children take this idea and create addition stories with it.  I took a picture of a ten frame on each iPad so that it was in the camera roll.  The children then used that picture as their background and used the stamp feature in Doodle Buddy to create their own addition stories.  Then they recorded the addition stories underneath them.

Then we took our stories and imported them into Strip Designer to create our math books.  They turned out great!  The children had such a good time creating them that they wanted to make even bigger stories.  So I took pictures of two ten frames together so that the students who wanted a bigger challenge could create even bigger stories.  
The children made up to four or five pages of addition stories in Strip Designer.  I discovered that I could save the work as a PDF file and save it in iBooks.  Then I was able to email it to myself and then forward on a copy of the book to their homes!  I also printed off a hard copy of the book.  It is in black and white. 

I like the digital version better!

Friday, 29 March 2013

Five for Friday! First One!

Five for Friday!

This is my first one!  So here goes!


1.  These are the Boo-Boo Bunnies we made to go with our story map about Home for a Bunny by Margaret Wise Brown.

The children loved them and carried their bunnies with them everywhere they went!


2. We made Rabbit research reports.  The children sorted and categorized rabbit facts into four different categories.  Then we turned it into a rabbit shape report!

I created and posted this project in my new package All about Rabbits on Teachers Pay Teachers this week.


3.  This is the Easter bonnet I wore for our Easter Bonnet Day yesterday.  Everyone tried to wear a hat to show their school spirit and raise money to buy roosters and chickens for World Vision.  For a $1.00 minimum donation everyone could wear an Easter bonnet, bunny hears, or favourite hat all day in school!  Lots of fun!


4. We made Easter baskets.  They made great homes for the Boo-Boo bunnies too!


5. We made a bunny cloze about what real bunnies can do and what the Easter Bunny can do!

Thanks to Doodle Bugs for hosting this linky party! This is my first one.  Hope I did it right!

Tuesday, 26 March 2013

Rabbits and Bunnies!


We have been having a lot of fun with rabbits and bunnies over the last few days!  We completed a simple rabbit research report last week that the children really seemed to enjoy!   


I like to do mini research projects and then turn them into little booklets!  I created a list of rabbit facts that we sort and categorize into four groups together.  
We read the facts together on the overhead and decide on the code that we will use.  I created four categories for the facts.  They were:  
What they Look Like, What they Eat, About the Babies, and Cool Facts.  


I put the facts on the overhead and give each child their copy of the facts.  We go through them together one by one.  I love this because the students who are great readers get a chance to shine!  
We talk about key words to look for like  “baby” and “eat” for the  readers who need more support.  Even the challenged readers can take part, using just the code letters.   We decide which code letter to use together and write it down before moving on to the next fact.
We read them together and decide on the code for each one.  Cool Facts gets a C, About the Babies is an B, What They Look Like is an L, and What they Eat gets an E.  
Then I pass out the four category pages and the children cut out the facts and paste them to the correct category based on the codes we have decided on.  The category pages are in the shape of the rabbit’s  tummy.  

I precut the rabbit’s body out of brown paper.  Some white strips for  the whiskers, one  round sticker for the nose, and one round sticker cut in half for the eyes complete the project!  We staple the completed category pages on the brown rabbit body and we have a funky bunny report! I love this project because it allows everyone to plug in at their level of readiness.  

I had a lot of fun putting this project together.  I have posted it on my Teachers Pay Teachers store.  The children really seem to like the project and it lets them learn some new facts and create a final product that they seemed proud to share!  

We also had some fun today making bunny poems using a cloze activity that I created.  

First, we read a few books about real rabbits and then brainstormed all the things that a real bunny can do. Then we brainstormed what the Easter bunny can do! The cloze formed the "body" of the bunny and then they added the bunny head and feet.  I ran the sheets off on a variety of colours that the children could choose from and had them just add some colouring to add the wow factor!  

We also made this fun bunny baskets in hopes that the Easter bunny will visit! 


Too much fun!  


Hoppity, Hop, Hop! 


Sunday, 24 March 2013

iPad Fun!


Over the last three months, my class has had the good fortune to work on a variety of projects using iPads.  We had a great time creating with them.  Over the next few weeks I will try to post about some of the projects we created.  We used a variety of apps in tandem to create our masterpieces!  

I wanted to have the children create a digital book about the wonderful snowmen they created at home with their families.  We started by using the iPads to take pictures of their snowmen.  

The children were then able to import them into books they created using the My Story app.  This is a fantastic app that we used multiple times for a variety of projects.  


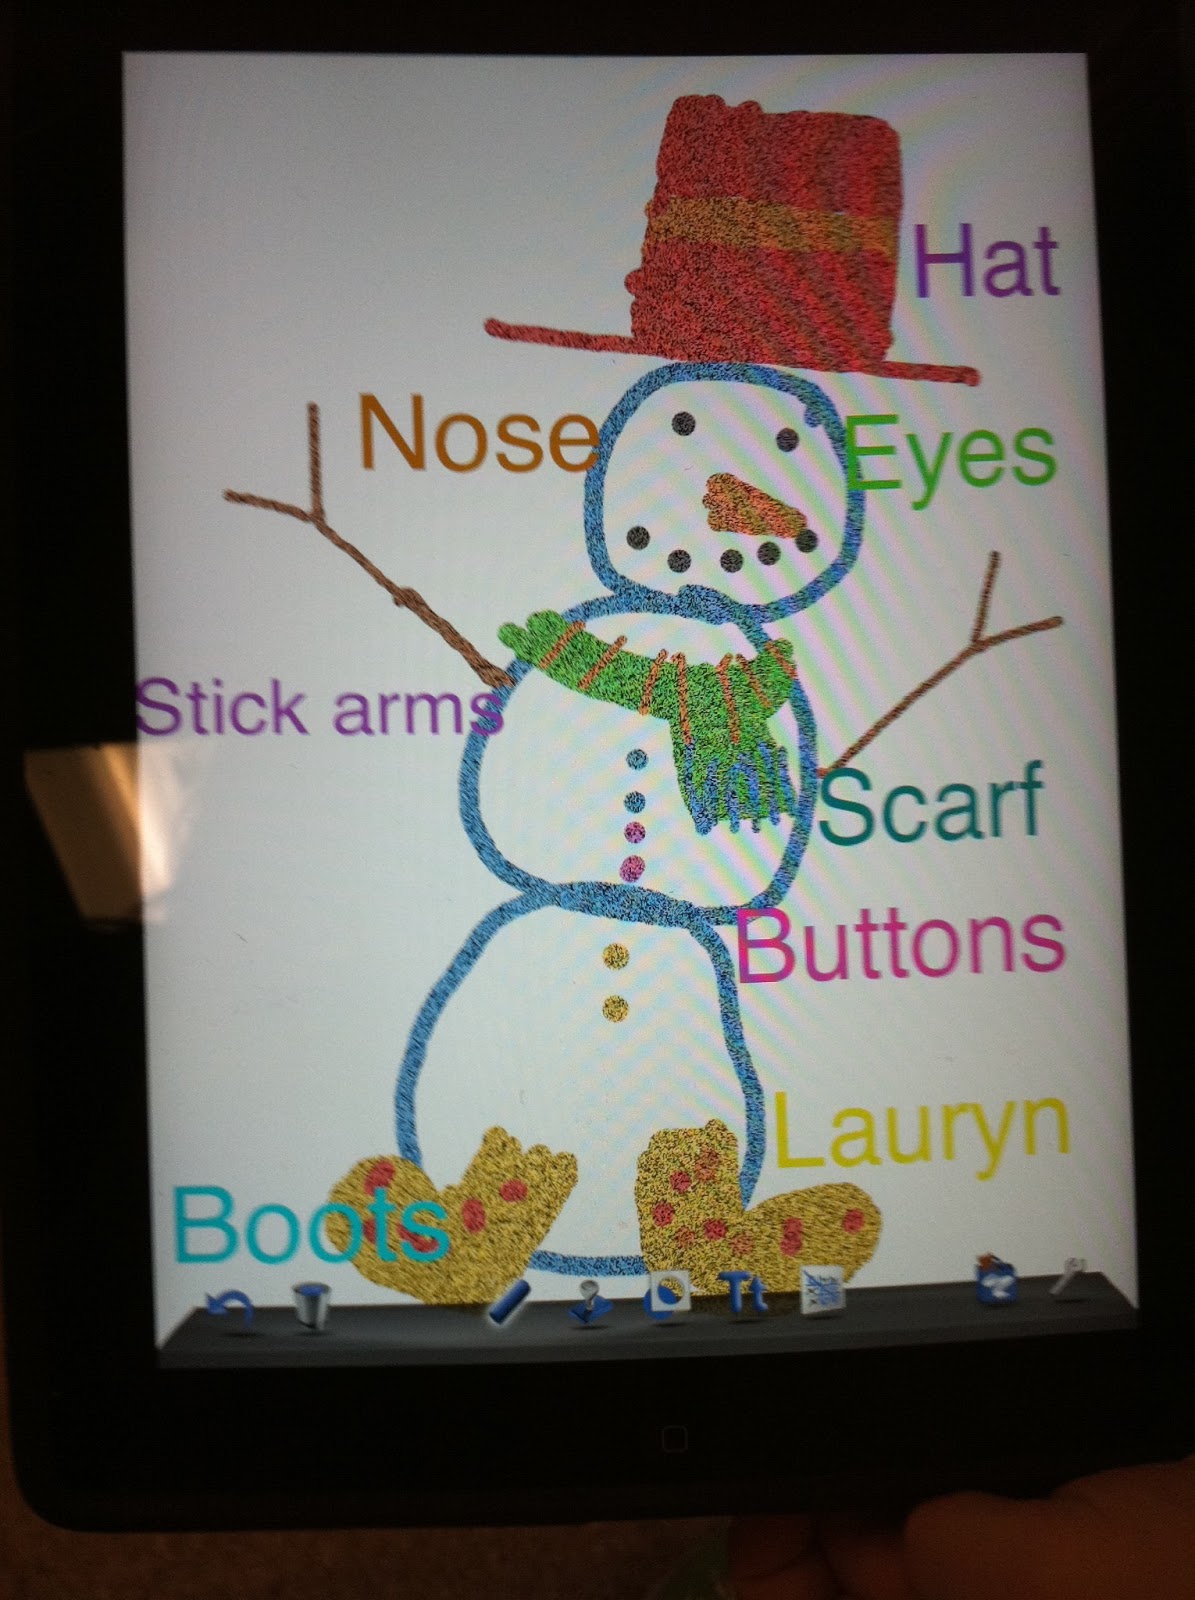
The children used Doodle Buddy to draw a snowman and label it to include in their books.  This is quite a complicated task for Grade One students!  First, they drew the snowmen and then used the Text boxes to label the picture.  We saved these to the camera roll again and imported them into the My Story book. 


 We also created a page for our book using the same process to describe what  a snowman might eat!


I also had the children create an author page for their books.  We took a picture of them holding their project using the iPads and the children imported it into their books.  
 The My Story app is awesome.  The children could create their books by drawing pictures within the app or import their pictures from other drawing apps we used.  They could write a story to match their pictures and then narrate it in their own voices!  Very cute!

When the book was complete, you have the option to "share" the book by emailing it or exporting it to iBooks.  


The children really liked seeing their masterpieces in the iBook format.  I eventually emailed a version of their book to their families. 
I love the illustrations the children created on the iPads.  The colours are so vibrant!  

Sunday, 3 February 2013

Winter Fun

Have a look at the snowmen our class made!  Each year I read the story Snowballs by Lois Elhert and then I send home a snowman template with instructions to the families to make a snowman using their imaginations and "stuff"!

 I am always so impressed by the wonderful snowmen they create!  Aren't they amazing?!  


We are currently working on a project using the ipads to create a book using the app My Story about these amazing snowmen!  I love this app!  

We have been using the app Doodle Buddy to create Snowmen Diagrams.  Love, love, love them! 


The children will also be writing stories about their snowmen in the coming days and compiling all the pages we create into a digital book!  


We have also been working on our mini-unit about penguins!  I like to do mini research projects and then turn them into little booklets!  I have created a list of penguin facts that we sort and categorize into four groups together.  

We read the facts together on the overhead and decide on the code that we will use.  I created four categories for the facts.  They were:  What they Look Like, What they Eat, About the Babies, and Cool Facts.  I put the facts on the overhead and give each child their copy of the facts.  We read them together and decide on the code for each one.  Cool Facts gets a C, About the Babies is an B, What They Look Like is an L, and What they Eat gets an E.  

Then I pass out the four category pages and the children cut out the facts and paste them to the correct category based on the codes we have decided on.  The category pages are in the shape of the penguin's tummy.  I precut the penguin's body out of black paper.  An orange beak, two orange triangles for feet, and two stickers for the eyes complete the project!  We staple the completed category pages on the black penguin body and we have a funky penguin report! I love this project because it allows everyone to plug in at their level of readiness.  

We have been practising our addition skills using the winter workspaces from my Winter Fun package over the last few weeks.  P. S.  It's on sale at TPT on Super Sunday!  

I had a lot of fun finding new things for them to count with.  I found some cool foam snowflakes that are a bit hit, some snowflake buttons, and some cool little mitten and snowmen erasers at the  dollar store.  They don't seem to mind doing addition facts when they get to use these counters!  


They seem to enjoy the counting activity using these materials at centre time too!
This is part of the Winter Fun package, too!


We have been having a lot of fun with mittens!  We created this quilt working with pattern!  Lots of fun! 
More mitten stuff on the way!  


Sunday, 20 January 2013

Counting Snowflakes and Snowmen!


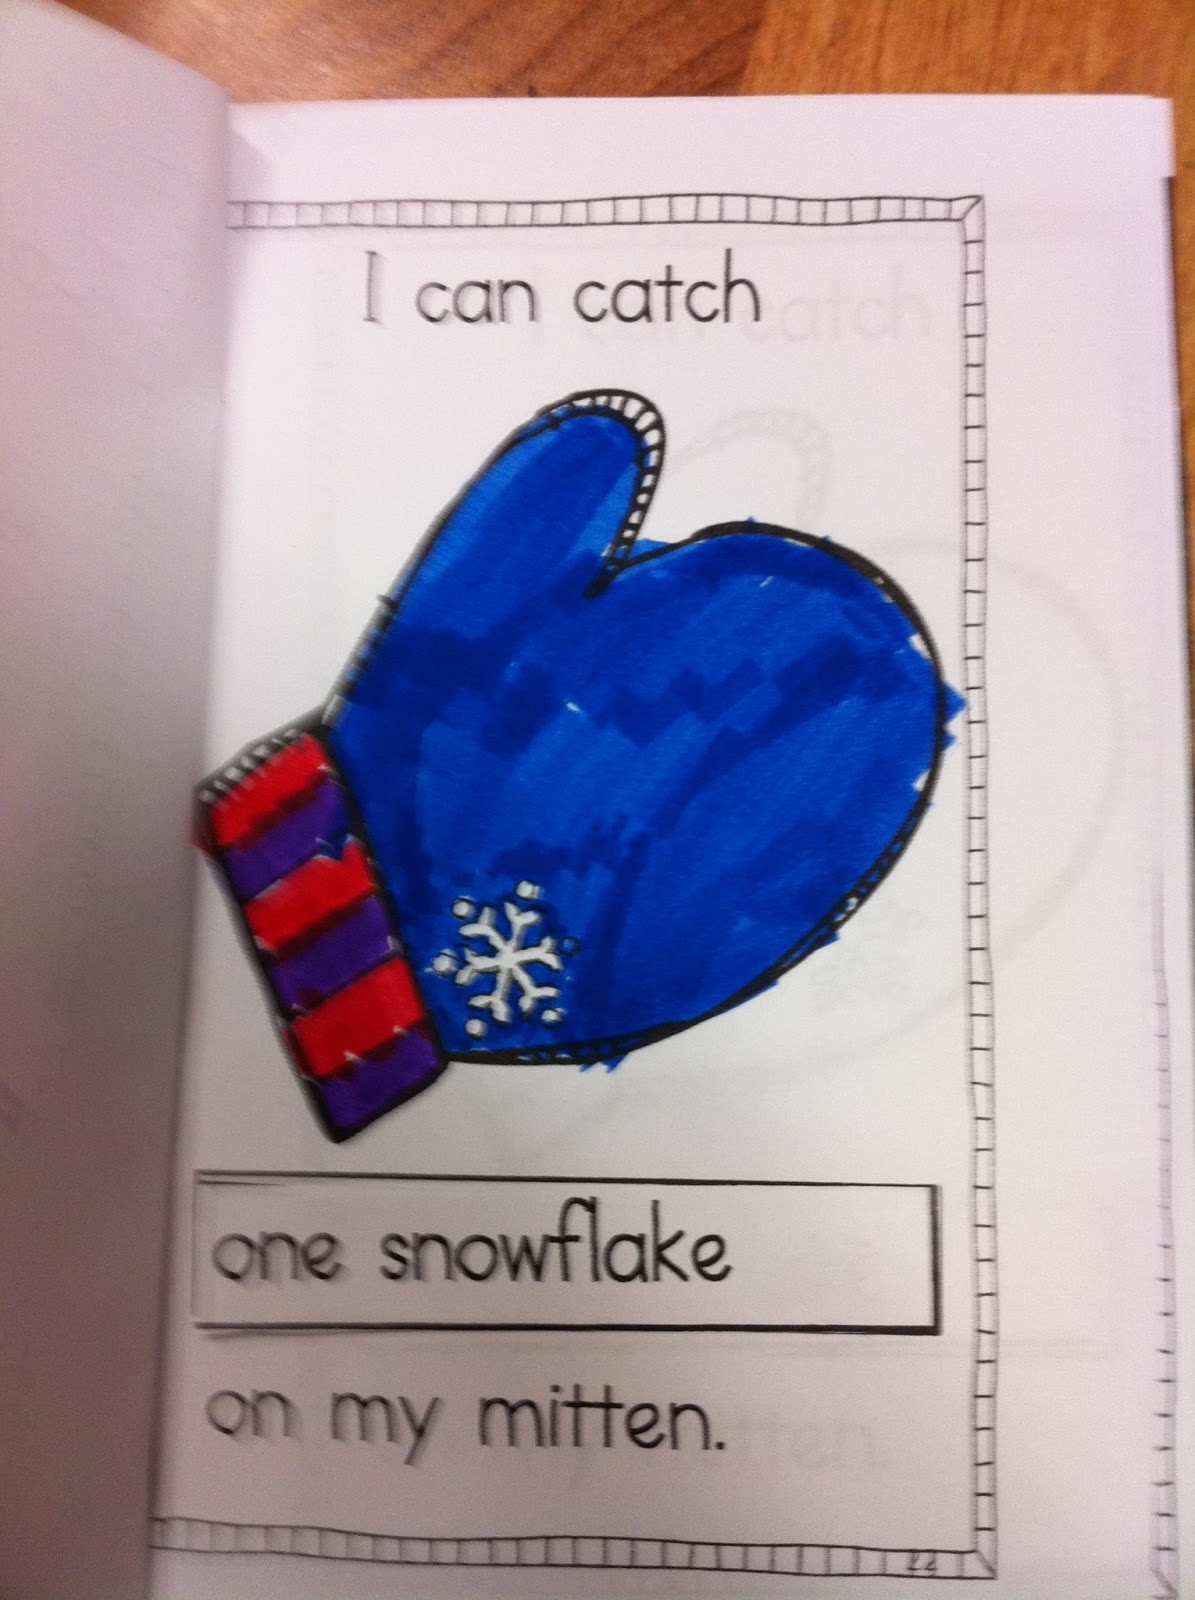
We have been having a lot of fun with Winter activities this month!  One of the activities we have done is make a fun snowman flip book, a Winter is cloze activity, and a count up snowflake mini book!
I created a little mini book about catching snowflakes for the children to complete and keep!  First we read one of my favourite snowflake stories called Millions of Snowflakes.  It is by Mary McKenna Siddals and illustrated by Elizabeth Sayles.  It is really special and always a hit!
Then I introduced my class book version of Catching Snowflakes that the children chant read with me!

Then we make a mini version for them to keep.

 Because I am trying to introduce plurals I decided to make a version in which the children had to complete the frame on the page with the words that indicate the correct number on each page.


I have also created a version in which the children have to cut out the correct number of snowflakes to match the words on the page.  Right now, my children are more than ready to work on the word version.  They seemed to have a great time with it and were happy to read it and colour one page minimum.  Most coloured more than that!
You can find all versions of the book in my new Winter Fun package!


 I have also posted the mini book Catching Snowflakes as a freebie!

We had a great time making hundreds of snowmen with the snowman flip book activity.


I always do this book the first time it snows if I can!  First I read my favourite snowman book Sadie and the Snowman by Allen Morgan and illustrated by Brenda Clark.  Fabulous pictures and a very clever story! It is about a little girl who makes a snowman many times over during the winter and each snowman is a little different and a little the same.

We talk about how the snowman are each different.  Then I tell the children that although  I only drew four snowmen we can make many more snowmen with just these four! 
They don’t believe me until I staple the four sheets together, and cut the top three sheets between the top circle and the middle circle and between the middle and the bottom circle.  Then by flipping one or more of the strips I can make many, many more snowmen!  (Cutting only the first three pages gives the book a bit more stability).
I have the children make four different snowmen using their colouring materials on the snowman sheet. 
I draw a big snowman on the board  and we label the various parts. 
Then the children label their snowmen using the sentence frames.  I try to get them to add describing words to their  sentence frames by either adding colour words or descriptors.  For eg.  My  snowman has a black hat with a feather.
After they have completed the sentence frames for each part of the snowmen on each of the pages, I staple their book together and I make the cuts. 
Then they take their books with a partner and see how many different combinations of snowmen they can make!  Lots of writing and reading practise!  They always love it !   


I like to read Stella, Queen of the Snow by Marie Louise Gay to my class to help them think of things that make a picture in their head about Winter.  Then we brainstorm different things that mean winter.  The children choose their favourites to complete the Winter is frame.


  I have created two different versions for you to choose from in the Winter Fun package.


After the children have completed the Winter is frame they build these snow children to display their poem on.  I precut the toques and mittens out of wallpaper and precut the neck, scarf, face, and arms.  A quick demo and then the children put it all together!  They were very proud of them and came up with some really descriptive language!