Pin It

Showing posts with label Strip Designer. Show all posts

Tuesday, 30 December 2014

Fun with AR Colors and Shapes!


We have been working with some Augmented Reality apps in the classroom.  The newest one is AR Flashcards Shapes and Colors.

This is a really neat app that introduces colors and shapes in a fun way.  The children hold the iPad over the trigger images and these lovely augmented images appear.  You can change the color of the shape by tapping the color icons at the top of the screen.  Lots of fun practice learning about colors and shapes.

There is a story in one of our beginning readers that talks about shapes.  We decided to make our own book using these augmented images as a starting point!

The students searched our classroom for the different shapes and then we arranged our collections around the trigger image picture.  Then we took a picture of the shapes within the app with the trigger image engaged.  Next, we opened up the Strip Designer app, imported the picture and added a sentence about the shape to the page.


Then we opened up the Explain Everything app and imported our pages to make a book.  The students volunteered to narrate the pages.  We saved our book to the camera roll and uploaded our book to YouTube.   This is the result!


This was a fun project!  They had a great time searching for the shapes we needed and arranging them around the trigger image!  Great practice and fun, too!

More Fun with Technology!

We had a lot of fun during the first few weeks of this school year!  We have had a lot of fun creating a book using the iPad based on a story we have been working on in one of our readers.

The story focuses on introducing the school in the story.  We decided to create our own book about our own school using the iPads. 


We had a great time travelling all around the school taking pictures of the important sites in the school according to the children! Then we imported the pictures into an app called Strip Designer. and added the text. 

Then we imported these pages into another app called Explain Everything to create our book.  Then we recorded our voices reading the text.  We saved our book to the camera roll and exported it to Youtube.  We hope you enjoy our efforts!
I have also been experimenting with Aurasma again this year.  This app allows us to attach files to a trigger image such as a picture.  When you view the picture within the Aurasma app it triggers the attached file to display.  You need to follow our class on the Aurasma app to see the Aura.
To see our auras, please follow the following steps.
1.Download the app Aurasma on your device.  It works on iPads, and iPhones.  I believe there is also an android version.   The app is free.   It will ask you if you want to register.  You do not need to register to see the auras.
2. Search for our channel and follow it.  Our site is
mrsantonsclass or mrsantonsgradeone
You can do this by choosing the magnifying glass icon at the bottom of the screen.  Type in either site name.  Our channel should come up!  (I have tried it on every device in my house and had my family try it so it should work!)   Then choose the Follow button. The text will change to Following.

at my school aura 1

(image from KPM Doodles)
You should then see a little snapshot of the picture above.
3. You can then trigger the aura by choosing the option at the bottom of your screen that has the four corners (the one in the middle).
Aim your device at the trigger image above on this screen on your computer and you will see the aura activate with a purple swirl.  The attached file should then display.   The attached file is the book that we created above.  It is pretty cool!  Now you have two ways of viewing the same book!.


We tried it out this morning in our classroom with my iPad and the pictures!  Lots of fun!


As we create other auras this year we will share them to this channel. Auras are great because you can share them! You can share the aura by choosing the share button.  You can share it via email or twitter.
I have also shared the book on our Twitter site.  Our twitter address is @mrsantonsclass.  We have a classroom blog at mrsantonsclass.com.  I have added the twitter feed to that site.  

IMG_3783

This year we took part in the Global Read Aloud 2014.   We joined with a large group of teachers worldwide who are completing an author study of the Peter Reynolds stories.  

We managed to read all the books and our favorite new term is "ish".  We don't have  the ends anymore! We have "The Endish"! 
IMG_3788

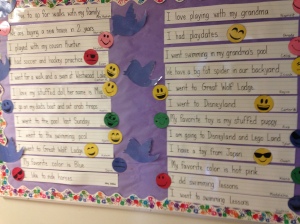
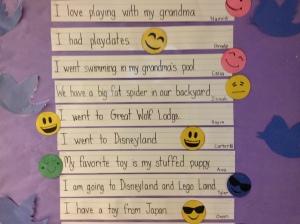
One of our moms volunteered to help us with our Twitter page.  We share our news on the twitter board as well as on our class Twitter page  The students love seeing their sharing come up on the screen! 

IMG_3789


Having lots of fun with technology!  Definitely something to tweet about!


Thursday, 12 June 2014

Space Travel AR Style!


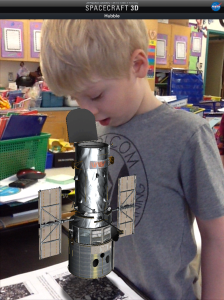
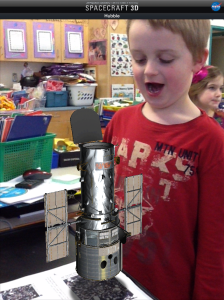
We have been having a lot of fun with a variety of apps I have found about space.  This one has become a favourite!  It is another Augmented Reality app called Spacecraft 3D.  This is an app from NASA Jet Propulsion Laboratory and the California Institute of Technology.
IMG_0459
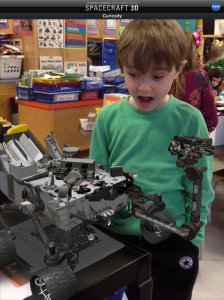
You download a marker and then place the iPad over the marker and this lovely 3D image appears.  The best part is that you can take your picture with it!  There are 13 different spacecraft that you can view including the Curiosity and Hubble telescope!
IMG_0461
There are animations and information about each of the spacecraft!
We had fun looking at the spacecraft and choosing which one we wanted to have a picture with.  The children then posed with the image and these are some of the cool results.
IMG_0462

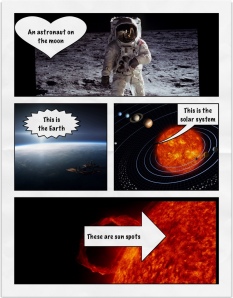
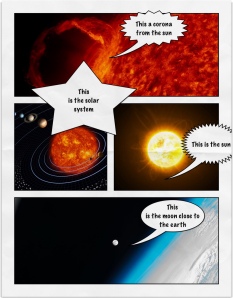
We have been working on a space theme this month.  The children have been using  the iPads to create these awesome pages about space.
hayden marley space
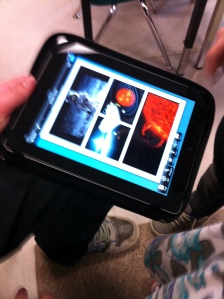
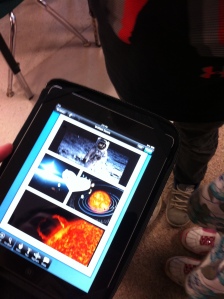
I downloaded some neat space images from the internet onto the camera roll of the iPads.  Then I showed the children how to import the pictures from the camera roll into an app called Strip Designer.  It is one of my favorite apps.
austin garrett space
After that short demonstration I handed the iPads over to the children.
IMG_2835
They worked as partners and chose the pictures they wanted and placed them in the cells on the page. Then, with a little help, they added a text box describing the image.
IMG_2836
The children are fearless.  They pop in and out of the camera roll, sizing and re-sizing their pictures to fit the spaces and then deciding on the various options for captions and the accompanying text with ease.
I think the product looks amazing!  Grade One students can do a lot, can't they?
We took all the pages and put them together to create a book using the Explain Everything app! 


Then the students recorded the captions on each page and we saved the project to the camera roll.  I uploaded the video to Youtube and we can share it with everyone.  


I also attached the video using Aurasma to a creative writing project we did.  We used the pictures we created with each student using the Spacecraft 3D app. 

The pictures served as a spark for a creative writing exercise about a space trip!  They wrote and they wrote and they wrote!


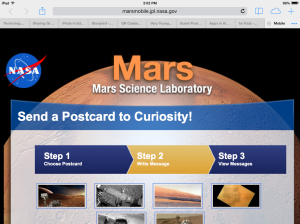
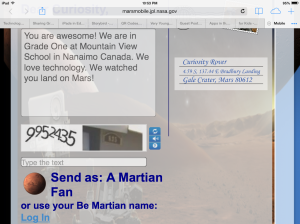
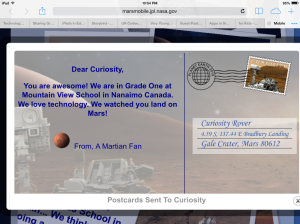
While we were learning about the Curiosity spacecraft I found a cool NASA website that focused on the Mars expeditions.  There are a lot of cool links on the site including one that lets you send a postcard to the Curiosity spacecraft on Mars!  Too cool! Of course, we had to send a postcard!
IMG_0454

mars 1

mars 3

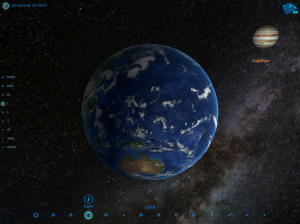
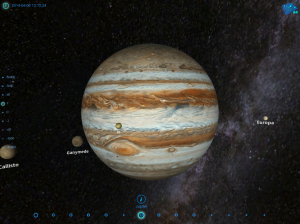
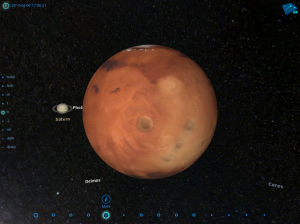
Another app we have had some fun with is called  Space Journey.  I love this app!  It lets you choose a planet and then see it in relation to its place in the solar system!
earth planet
You can pick from any of the planets in our solar system and then see it in space in relation to the other planets and the sun.  Of course we had to try them all!
saturn


planet 3
We got a little dizzy spinning around our solar system!  You can move the planet around and see what it sees around it!
We are having too much fun with all the space apps! And there are many more!

Saturday, 11 May 2013

Frog Fun!


We have been working on the frog life cycle over the last little while.  Right now we are learning about frogs!  Today, we started making a digital image of the frog's life cycle using the iPads.  I googled frog images and then saved them on the iPad.  Of course, the iPad makes it super easy to download images!  I had read about it and tried it today and it is so neat!  Thank you to MattBGomez.com for the tutorial.  He had done it with his kindergarten students using the butterfly cycle and the Story Buddy 2 app.  You just pick the image you want, tap on the image, and then hold you finger on it and a popup will appear inviting you to save the image.  It saves to the camera roll.  Once it is on the camera roll we can do lots of things with it! The possibilities are endless!  I showed the children the images I had been able to capture and then we imported them into Strip Designer to make a pictorial image of the frog's life cycle.  Then we added the words!
One demonstration and then off they went in pairs! Here are a few of their efforts.  Have to figure out some way to compile them and post them altogether!


I love the Hello balloon and the Boing!  It really fits!


We also created a frog report this week.  The children had to read a compilation of facts that I put together for them and sort them into four categories.  They were What They Look Like, What they Eat.  About the Enemies, and Cool Facts.  They thought everything was a Cool Fact!  


We read the facts together on the overhead or with the cam on my computer and decide on the appropriate code to categorize them.  We choose L for What They Look Like, E for What they Eat. Y as in Yikes for About the Enemies, and C for Cool Facts.  The students volunteer to read the facts and then we collectively decide on the appropriate code.  Then they cut out the facts and glue them to the appropriate page. 

I like doing this type of project because it lets my more able readers shine and be challenged and lets all my students take part using the coding system.  Everyone gets to complete the project and engage at the level best suited to them.  

I am compiling this project as a Teachers Pay Teachers project and it should be up soon. I have a few things I still want to add to it!   My students are my best critics and they liked it.  Hope you will, too!  


Monday, 8 April 2013

Alphabet iPad Fun!


I really love to have the students use a variety of apps to create their own special projects.  They really seem to like working with the combination of Doodle Buddy and Strip Designer!  The Math workbooks were a big hit and I managed to sent them home to all the parents via email.


Then we decided we could also use the same process to create an Alphabet book.  The children used pictures on the camera roll of themselves as well as pictures we took in the classroom.  If we couldn't find a picture of something then we drew it! These are just a few of the pages.

I am working on a Photostory of all the pages to create our very own Alphabet book.  As the file will be too bit to email I will upload it to an iCloud server and the parents will be able to download it from there!

The children also used Doodle Buddy and Strip Designer to create their own comics.
The children have become masters at navigating around to create their masterpieces.  They jump from app to app, importing files from the camera roll, recording their voices, etc with ease.  Things that I would have really hesitated about introducing don't even faze them!  They find things that they can do and teach me and their classmates as we go!  Today we were playing with the Strip Designer app and they were showing me how to do things!  "Oh, you just do this, Mrs. Anton!"


The children created these comics with Doodle Buddy, made screen shots of their work, and then imported them from the camera roll into the comic format.   They choose a balloon style and added the text to the balloon.  Then they can add the Word stamps to accentuate their work.  Needless to say a very popular app!  At some point I would like to create multiple page comics. 


The first day with this app we used just the pictures that were on the camera roll to tell a story!  That worked great too!

The students have gone on to create some of their own pages in free time!  Take a look!


Sunday, 31 March 2013

Making Math Books iPad Style!

One of the projects that we worked on this year during our iPad project was creating math books using a combination of several different apps.  The children were fearless during this project and happily worked on it for a long, long time!  We used a combination of Doodle Buddy, some simple photography using the iPad, and Strip Designer to create their books.  When they were finished we could share them in a variety of ways.    I chose to send them as PDF files to the parents, and we also saved them to iBooks and sent them on to the parents. 

I found the beginning of the idea on a neat website called Journey with an iPad by Kate Lechleiter.  She had a post about using Doodle Buddy and ten frames to represent numbers.  She took a picture of the ten frame and used it as a background on Doodle Buddy.  Then the children used the stamps to represent numbers.


I thought that I would like to see the children take this idea and create addition stories with it.  I took a picture of a ten frame on each iPad so that it was in the camera roll.  The children then used that picture as their background and used the stamp feature in Doodle Buddy to create their own addition stories.  Then they recorded the addition stories underneath them.

Then we took our stories and imported them into Strip Designer to create our math books.  They turned out great!  The children had such a good time creating them that they wanted to make even bigger stories.  So I took pictures of two ten frames together so that the students who wanted a bigger challenge could create even bigger stories.  
The children made up to four or five pages of addition stories in Strip Designer.  I discovered that I could save the work as a PDF file and save it in iBooks.  Then I was able to email it to myself and then forward on a copy of the book to their homes!  I also printed off a hard copy of the book.  It is in black and white. 

I like the digital version better!