Pin It

Saturday, 11 May 2013

Frog Fun!


We have been working on the frog life cycle over the last little while.  Right now we are learning about frogs!  Today, we started making a digital image of the frog's life cycle using the iPads.  I googled frog images and then saved them on the iPad.  Of course, the iPad makes it super easy to download images!  I had read about it and tried it today and it is so neat!  Thank you to MattBGomez.com for the tutorial.  He had done it with his kindergarten students using the butterfly cycle and the Story Buddy 2 app.  You just pick the image you want, tap on the image, and then hold you finger on it and a popup will appear inviting you to save the image.  It saves to the camera roll.  Once it is on the camera roll we can do lots of things with it! The possibilities are endless!  I showed the children the images I had been able to capture and then we imported them into Strip Designer to make a pictorial image of the frog's life cycle.  Then we added the words!
One demonstration and then off they went in pairs! Here are a few of their efforts.  Have to figure out some way to compile them and post them altogether!


I love the Hello balloon and the Boing!  It really fits!


We also created a frog report this week.  The children had to read a compilation of facts that I put together for them and sort them into four categories.  They were What They Look Like, What they Eat.  About the Enemies, and Cool Facts.  They thought everything was a Cool Fact!  


We read the facts together on the overhead or with the cam on my computer and decide on the appropriate code to categorize them.  We choose L for What They Look Like, E for What they Eat. Y as in Yikes for About the Enemies, and C for Cool Facts.  The students volunteer to read the facts and then we collectively decide on the appropriate code.  Then they cut out the facts and glue them to the appropriate page. 

I like doing this type of project because it lets my more able readers shine and be challenged and lets all my students take part using the coding system.  Everyone gets to complete the project and engage at the level best suited to them.  

I am compiling this project as a Teachers Pay Teachers project and it should be up soon. I have a few things I still want to add to it!   My students are my best critics and they liked it.  Hope you will, too!  


Sunday, 5 May 2013

Rainy Day Fun


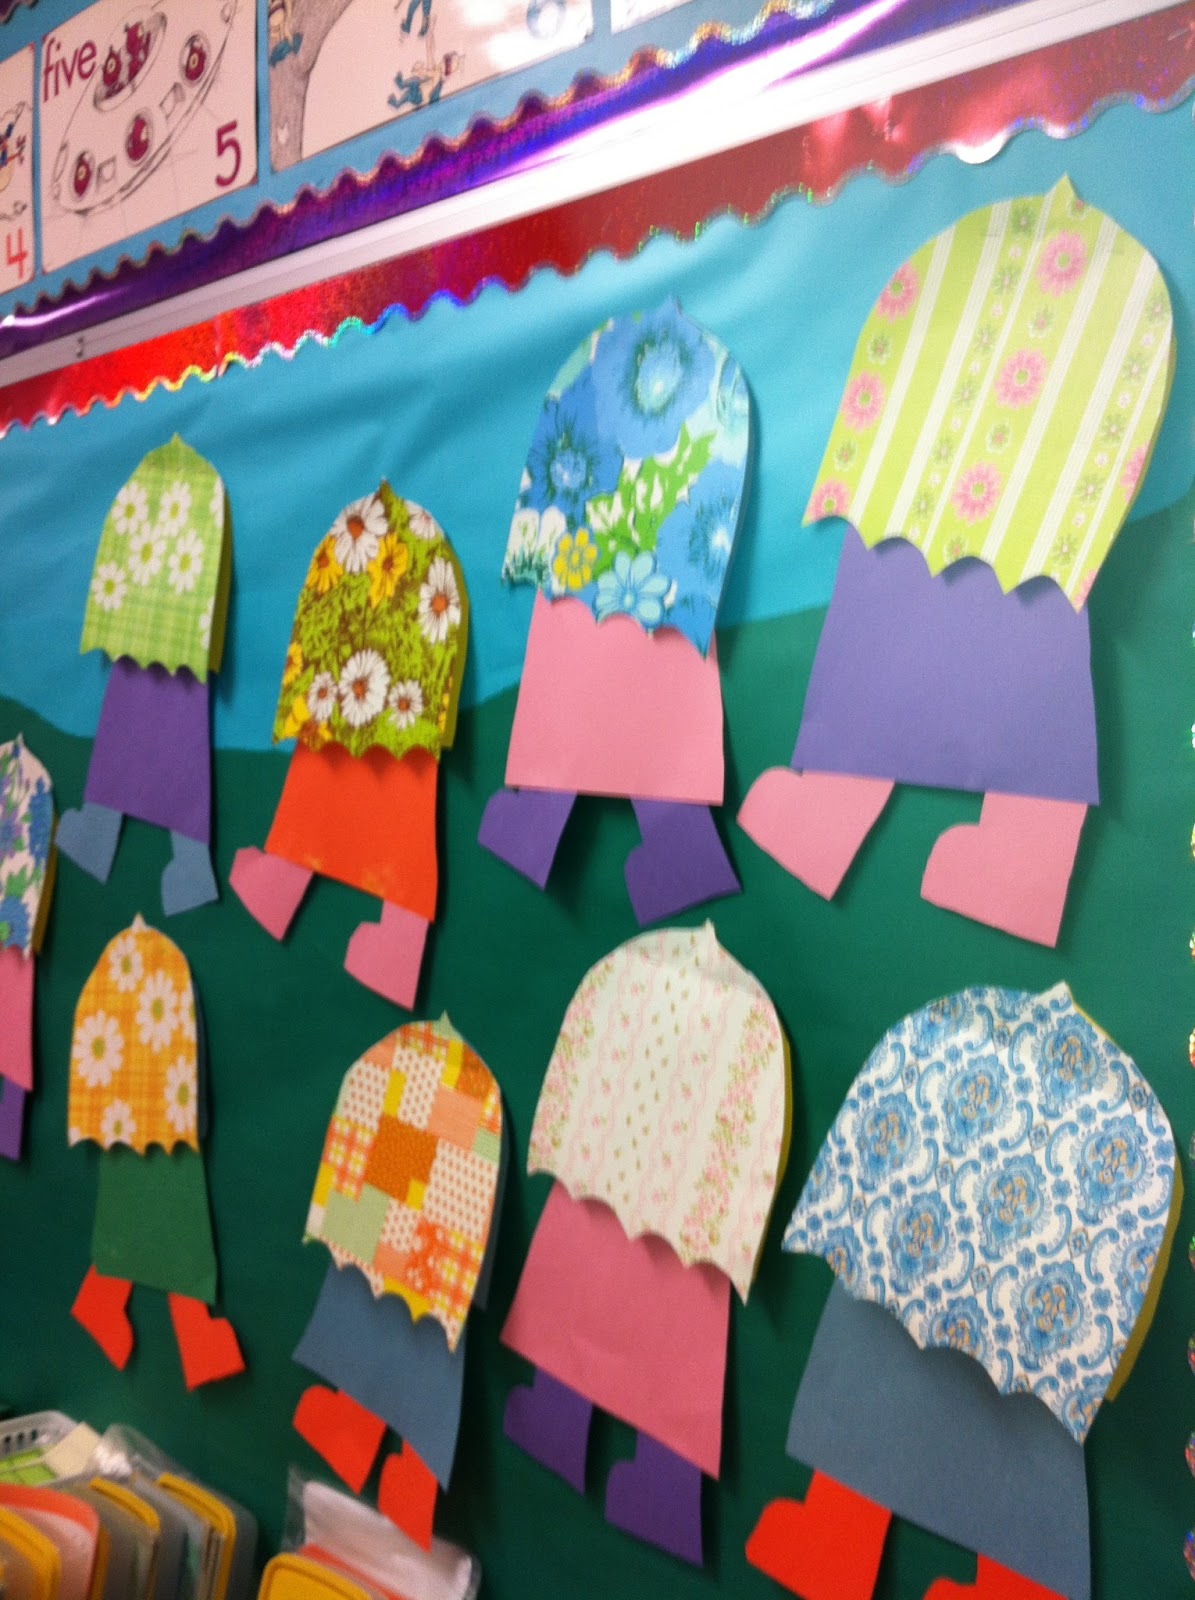
Spring here is always quite wet!  So we made these cute umbrella people!  Underneath the umbrellas is a cute little illustrated flipbook that the children made!


They really liked this project and you can tell by the care they took to illustrate it and put it together! I love the little road that the student added to this one! 

I have put together a package called Rainy Day Fun that has all you need to complete this project on My Teachers Pay Teachers store.  Templates for all the parts as well as detailed instructions on how to put everything together and my tricks for drawing the pictures are all included!  


I used wallpaper for the umbrellas!  I love the funky color combinations that the children chose.  I put out lots of different colours for them to choose from and let them go wild!  We have a photocopier at our school that lets us copy the templates onto construction paper so it was quite easy to get it all ready. The most time consuming part is getting the flip books ready and choosing the wallpaper samples to use.  You could use construction paper as well and let the children decorate that if you wish!  Might be kind of fun to see what they could come up with!  

This is a sample of one of the instruction pages in the package.


I also made a new little book called It's Raining for the children to complete. 
I print the class size one off on my colour printer and laminate it.
First, I read them the class size version. Actually, it is easy enough and predictable enough that the children can usually read it to me!
Then they complete their mini-version.  To increase the difficulty they must find the correct word to complete the sentence and paste it in place.  They must also find the matching rhyming pairs to put together before I staple their book together.  The rhyming pairs can go in any order except for the one that completes the poem. 
It’s raining on the sea, But … it’s not raining on me! 
Not wet! Not yet! 

HINT! I encourage the children to cut out the word strips and paste them in the correct place before cutting the little pages apart to make the booklets!  Less paper to manage!
For fun, on their version I gave them a little photograph of themselves that I had left over from the class photographs package to put under the umbrella. 
I also made up a blank page for those students who wanted a challenge to create their own rhymes!


Then I gave them a cover page, and three cotton balls to paste on the front for clouds.  They add the sun and a rainbow and they have a funky cover!  

I am taking part in the Teacher Appreciation Sale this week on the Teachers Pay Teachers site.  You can get     
my Rainy Day Fun package as well as my other products for 30 percent off!  Take a look!  


Saturday, 13 April 2013

Learning how to Print iPad Style!


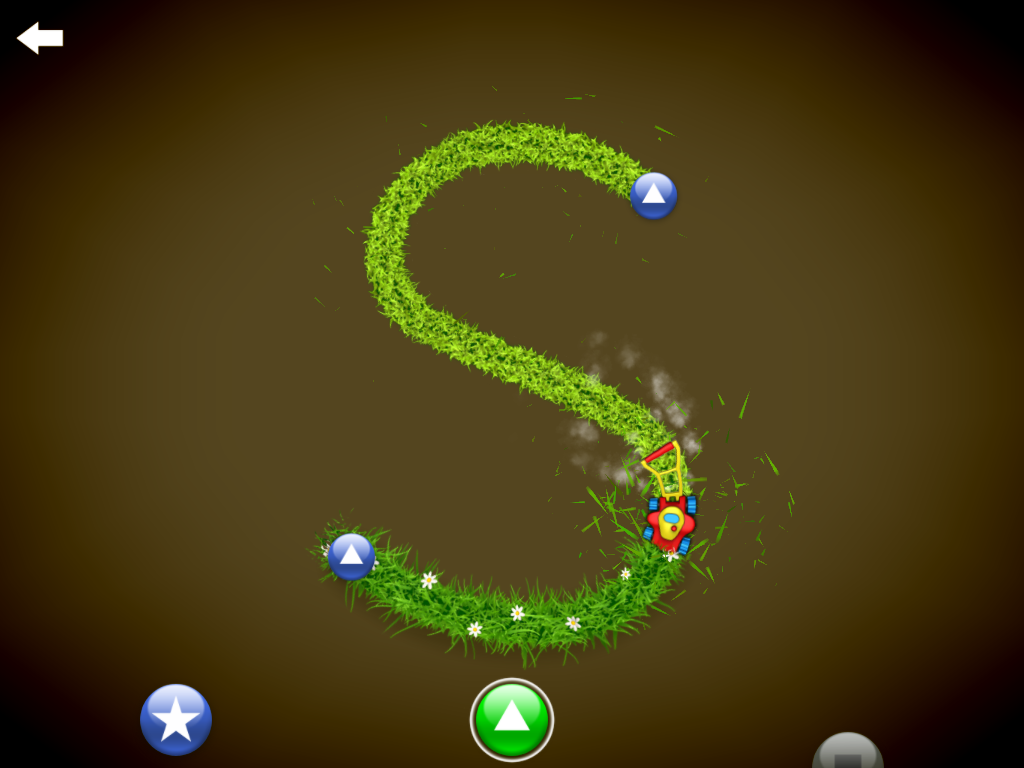
I love to surf the app store looking for new apps.  This is my latest find!  It is called Letter School.


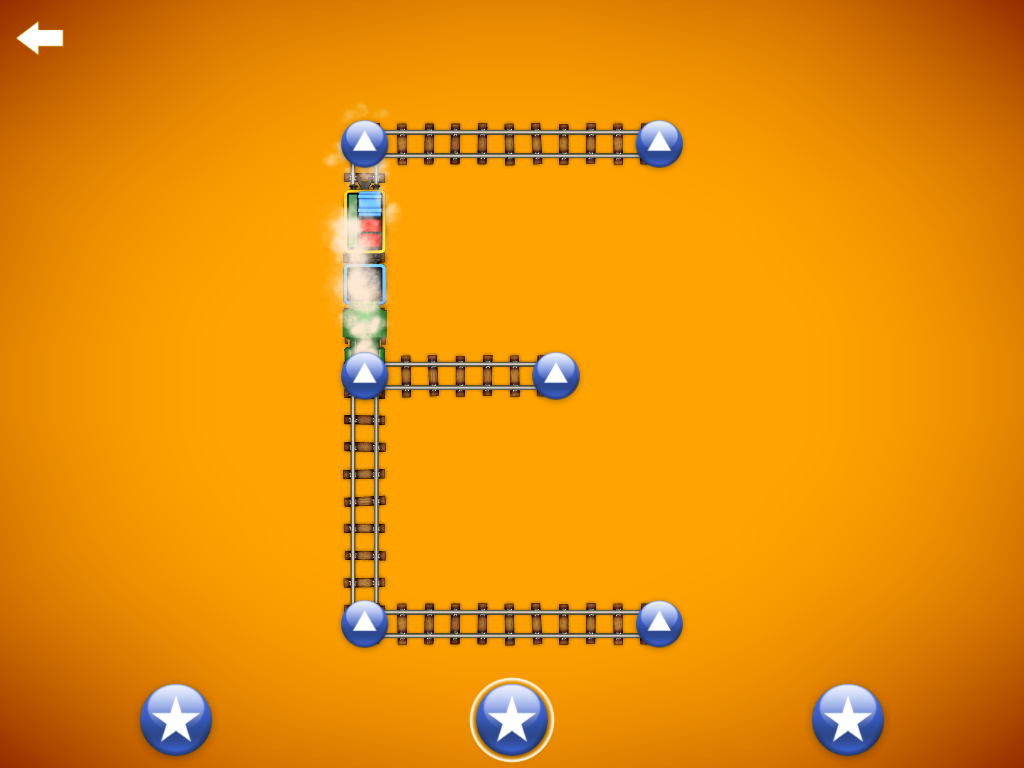
It is a great app about learning how to form letters and numerals correctly.  And the best part is that it is fun!


I showed it to the students at the beginning of the week and I wish you could have heard all the giggles!  It has been in non-stop use since then!   

It teaches how to form both upper and lower case letters and numerals in the conventional format.  They had a great time working with it.  We continue to share the iPad using the Belkin headphone and some excellent sharing skills.  Everyone enjoyed taking their turn!  I am hoping that some students will pick up the correct formation of some of the letters they are still struggling to learn to do in the conventional format!  


If you move your finger in the wrong direction it won't move and just makes a funny little noise that indicates that you need to try a different way.  
The great thing is that the animations are fabulous!  As the children work through several repeats the animations keep changing!  Very cool!


We made these "Umbrella" people.  I call them that because you can't see anything but the umbrellas.  A bit like little children with big umbrellas!  I am making up a package about how we made them and the fun poem activity inside to post on my Teachers Pay Teachers site!  Almost ready to go!  

Monday, 8 April 2013

Alphabet iPad Fun!


I really love to have the students use a variety of apps to create their own special projects.  They really seem to like working with the combination of Doodle Buddy and Strip Designer!  The Math workbooks were a big hit and I managed to sent them home to all the parents via email.


Then we decided we could also use the same process to create an Alphabet book.  The children used pictures on the camera roll of themselves as well as pictures we took in the classroom.  If we couldn't find a picture of something then we drew it! These are just a few of the pages.

I am working on a Photostory of all the pages to create our very own Alphabet book.  As the file will be too bit to email I will upload it to an iCloud server and the parents will be able to download it from there!

The children also used Doodle Buddy and Strip Designer to create their own comics.
The children have become masters at navigating around to create their masterpieces.  They jump from app to app, importing files from the camera roll, recording their voices, etc with ease.  Things that I would have really hesitated about introducing don't even faze them!  They find things that they can do and teach me and their classmates as we go!  Today we were playing with the Strip Designer app and they were showing me how to do things!  "Oh, you just do this, Mrs. Anton!"


The children created these comics with Doodle Buddy, made screen shots of their work, and then imported them from the camera roll into the comic format.   They choose a balloon style and added the text to the balloon.  Then they can add the Word stamps to accentuate their work.  Needless to say a very popular app!  At some point I would like to create multiple page comics. 


The first day with this app we used just the pictures that were on the camera roll to tell a story!  That worked great too!

The students have gone on to create some of their own pages in free time!  Take a look!


Sunday, 31 March 2013

Making Math Books iPad Style!

One of the projects that we worked on this year during our iPad project was creating math books using a combination of several different apps.  The children were fearless during this project and happily worked on it for a long, long time!  We used a combination of Doodle Buddy, some simple photography using the iPad, and Strip Designer to create their books.  When they were finished we could share them in a variety of ways.    I chose to send them as PDF files to the parents, and we also saved them to iBooks and sent them on to the parents. 

I found the beginning of the idea on a neat website called Journey with an iPad by Kate Lechleiter.  She had a post about using Doodle Buddy and ten frames to represent numbers.  She took a picture of the ten frame and used it as a background on Doodle Buddy.  Then the children used the stamps to represent numbers.


I thought that I would like to see the children take this idea and create addition stories with it.  I took a picture of a ten frame on each iPad so that it was in the camera roll.  The children then used that picture as their background and used the stamp feature in Doodle Buddy to create their own addition stories.  Then they recorded the addition stories underneath them.

Then we took our stories and imported them into Strip Designer to create our math books.  They turned out great!  The children had such a good time creating them that they wanted to make even bigger stories.  So I took pictures of two ten frames together so that the students who wanted a bigger challenge could create even bigger stories.  
The children made up to four or five pages of addition stories in Strip Designer.  I discovered that I could save the work as a PDF file and save it in iBooks.  Then I was able to email it to myself and then forward on a copy of the book to their homes!  I also printed off a hard copy of the book.  It is in black and white. 

I like the digital version better!

Friday, 29 March 2013

Five for Friday! First One!

Five for Friday!

This is my first one!  So here goes!


1.  These are the Boo-Boo Bunnies we made to go with our story map about Home for a Bunny by Margaret Wise Brown.

The children loved them and carried their bunnies with them everywhere they went!


2. We made Rabbit research reports.  The children sorted and categorized rabbit facts into four different categories.  Then we turned it into a rabbit shape report!

I created and posted this project in my new package All about Rabbits on Teachers Pay Teachers this week.


3.  This is the Easter bonnet I wore for our Easter Bonnet Day yesterday.  Everyone tried to wear a hat to show their school spirit and raise money to buy roosters and chickens for World Vision.  For a $1.00 minimum donation everyone could wear an Easter bonnet, bunny hears, or favourite hat all day in school!  Lots of fun!


4. We made Easter baskets.  They made great homes for the Boo-Boo bunnies too!


5. We made a bunny cloze about what real bunnies can do and what the Easter Bunny can do!

Thanks to Doodle Bugs for hosting this linky party! This is my first one.  Hope I did it right!

Tuesday, 26 March 2013

Rabbits and Bunnies!


We have been having a lot of fun with rabbits and bunnies over the last few days!  We completed a simple rabbit research report last week that the children really seemed to enjoy!   


I like to do mini research projects and then turn them into little booklets!  I created a list of rabbit facts that we sort and categorize into four groups together.  
We read the facts together on the overhead and decide on the code that we will use.  I created four categories for the facts.  They were:  
What they Look Like, What they Eat, About the Babies, and Cool Facts.  


I put the facts on the overhead and give each child their copy of the facts.  We go through them together one by one.  I love this because the students who are great readers get a chance to shine!  
We talk about key words to look for like  “baby” and “eat” for the  readers who need more support.  Even the challenged readers can take part, using just the code letters.   We decide which code letter to use together and write it down before moving on to the next fact.
We read them together and decide on the code for each one.  Cool Facts gets a C, About the Babies is an B, What They Look Like is an L, and What they Eat gets an E.  
Then I pass out the four category pages and the children cut out the facts and paste them to the correct category based on the codes we have decided on.  The category pages are in the shape of the rabbit’s  tummy.  

I precut the rabbit’s body out of brown paper.  Some white strips for  the whiskers, one  round sticker for the nose, and one round sticker cut in half for the eyes complete the project!  We staple the completed category pages on the brown rabbit body and we have a funky bunny report! I love this project because it allows everyone to plug in at their level of readiness.  

I had a lot of fun putting this project together.  I have posted it on my Teachers Pay Teachers store.  The children really seem to like the project and it lets them learn some new facts and create a final product that they seemed proud to share!  

We also had some fun today making bunny poems using a cloze activity that I created.  

First, we read a few books about real rabbits and then brainstormed all the things that a real bunny can do. Then we brainstormed what the Easter bunny can do! The cloze formed the "body" of the bunny and then they added the bunny head and feet.  I ran the sheets off on a variety of colours that the children could choose from and had them just add some colouring to add the wow factor!  

We also made this fun bunny baskets in hopes that the Easter bunny will visit! 


Too much fun!  


Hoppity, Hop, Hop!